Console
BaasBox has an administration web console that allows to administer and
control many aspects of its behavior and to perform administrative
tasks. The console is a responsive one-page web application that
performs REST calls to the BaasBox admin APIs. This guide will
illustrate the console for the version 0.6.0 We suppose that
BaasBox is deployed on localhost with its default parameters. If you
deployed BaasBox in the correct way, you can open your browser and open
the welcome screen: 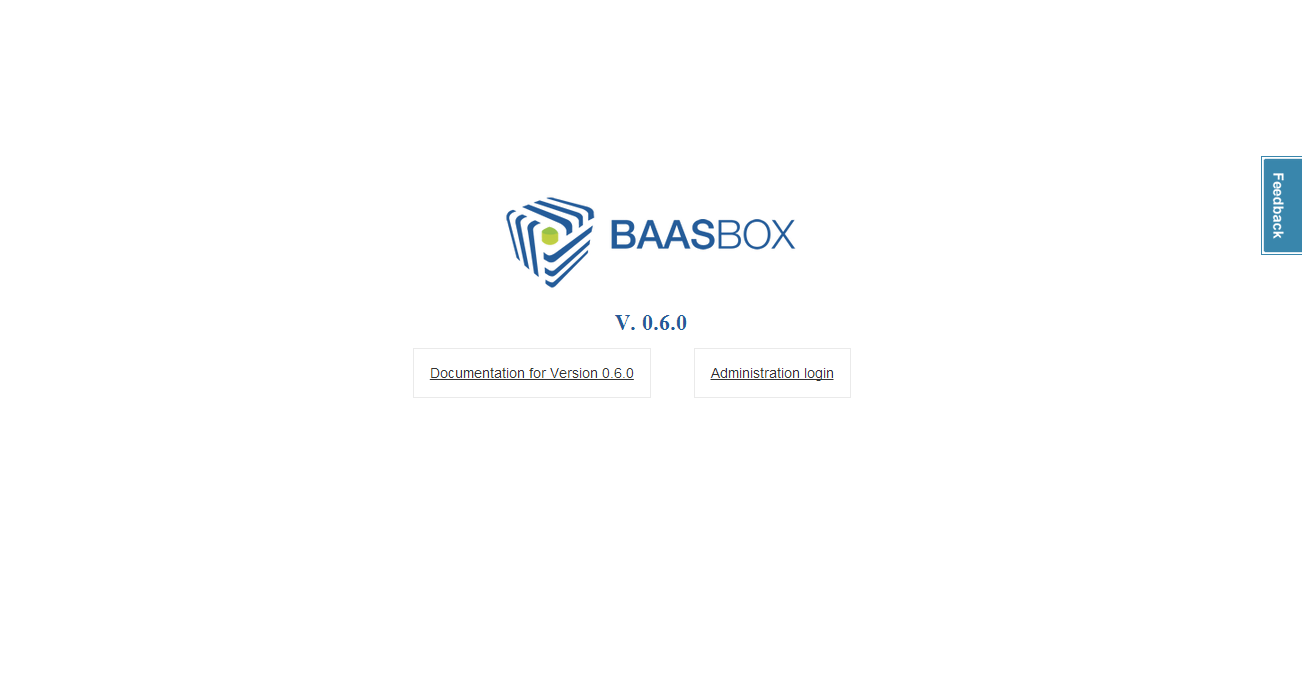
The login screen
When you are in the start view, the administrator console is reachable
at the /console path. 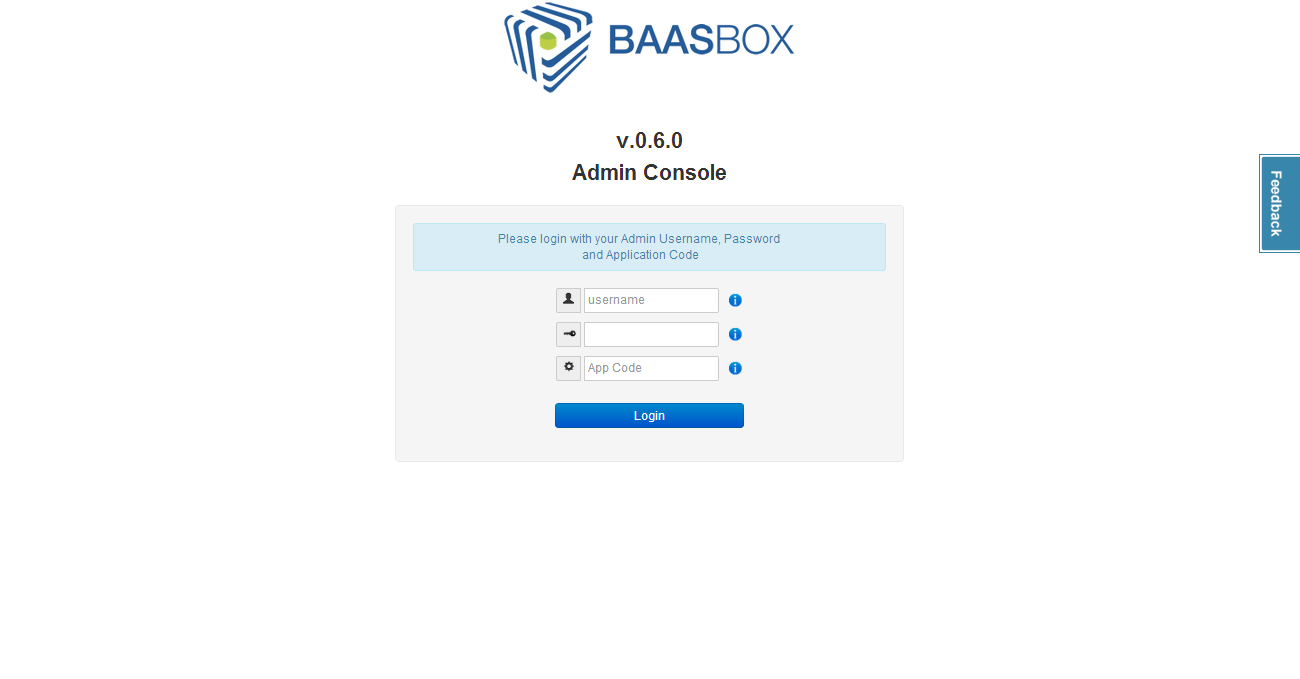 To login in the administrative area
you must supply the administrator credentials and the Application Code.
By default these values are:
To login in the administrative area
you must supply the administrator credentials and the Application Code.
By default these values are:
- Username: admin
- Password: admin
- App Code: 1234567890
You can change these values at any time by follow the instructions shown in the Hacking. By clicking on the question marks, the fields will be filled with the default values.
The Dashboard
Once you logged in, you will see the main dashboard screen: 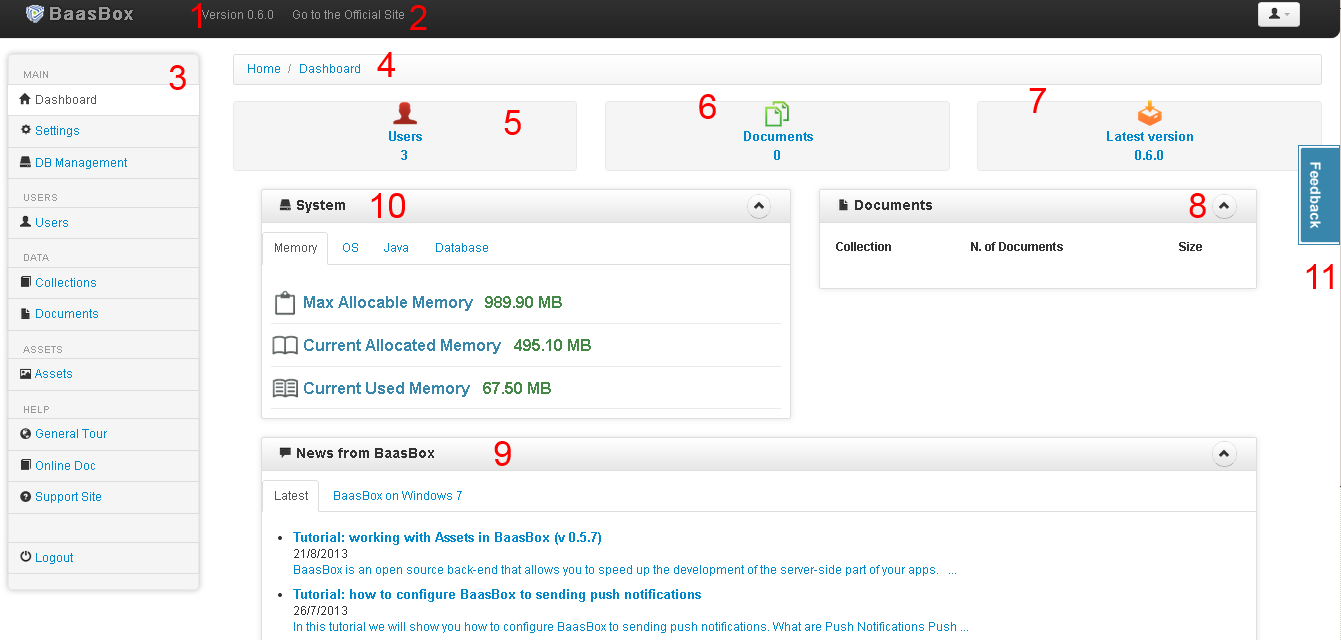 The
web console is based on twitter bootstrap and on the Charisma Template project. The
dashboard is splitted into several sections:
The
web console is based on twitter bootstrap and on the Charisma Template project. The
dashboard is splitted into several sections:
- BaasBox version number
- Quick link to the BaasBox site
- Main menu to access all the main sections of BaasBox
- A trace of where you are located
- Number of users and rapid access to the relative section
- Number of documents (objects) stored in the embedded database and rapid access to the relative section
- Quick link to the download of BaasBox site where you can find the latest version
- Number of collections, documents and total size in one window.
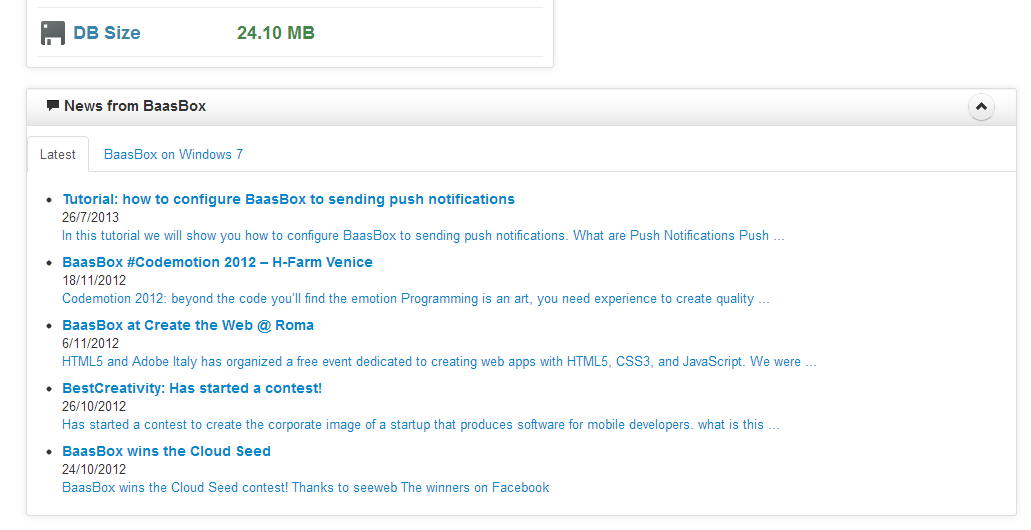
- Here you can see all latest news about BaasBox. These are feeds from
the BaasBox site
- System window:
- Memory: you can find max allocable memory, current allocated memory and current used memory
- OS: you can find name, version, architecture and processors viewed by your OS
- Java: you can find version, vendor and class version of your JDK
- Database: you can find version with its path and data size
- Access to a dialog window to change password or to logout
- Change password: Just insert old and new passwords, then confirm the new one
- Logout: just logout from the console. Remember that you can also logout from the left menu.
- Feedback tab: from there you can send us a feedback about your experience with BaasBox
NOTE: you can hide all tables/sections that have the up-arrow button on the right.
Settings
By selecting the Settings option in the left menu you can access the
settings section. 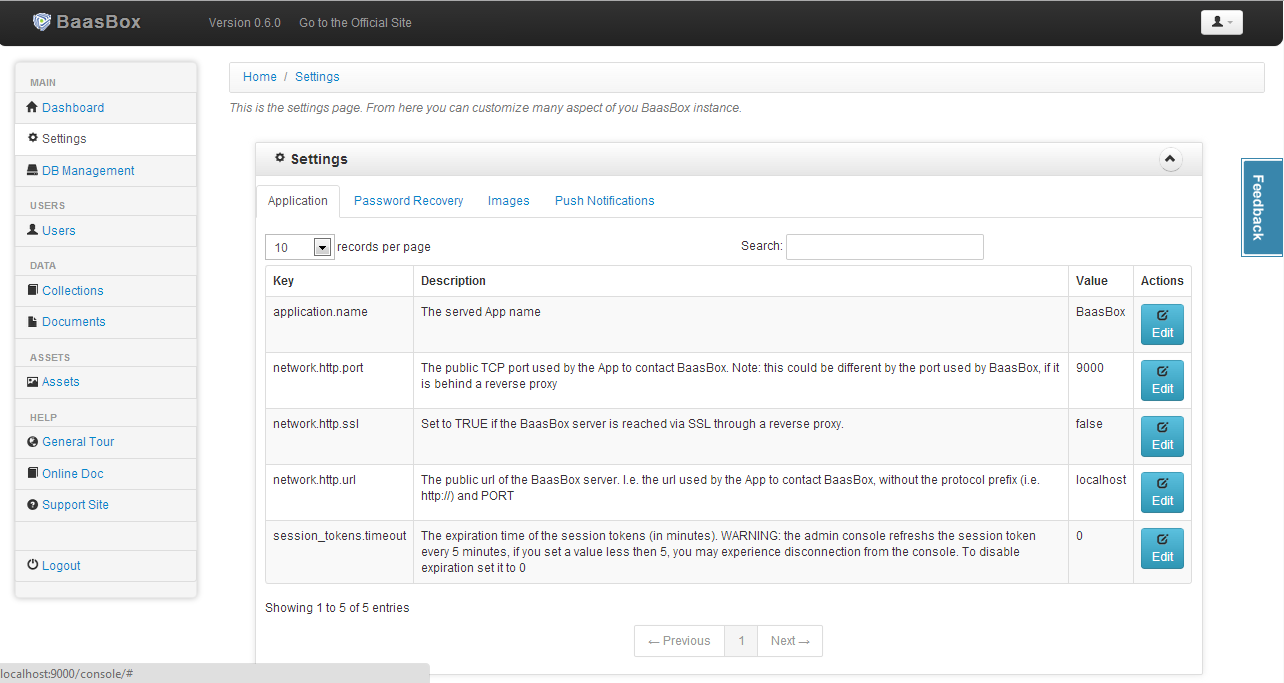 You can choose settings for
applications, password recovery, images and push notifications. Each
record has the Edit button that allows you to modify its action.
You can choose settings for
applications, password recovery, images and push notifications. Each
record has the Edit button that allows you to modify its action.
NOTE: the starred fields are mandatory.
Database Management
The item DB Management allows you to perform some operations on the
database. 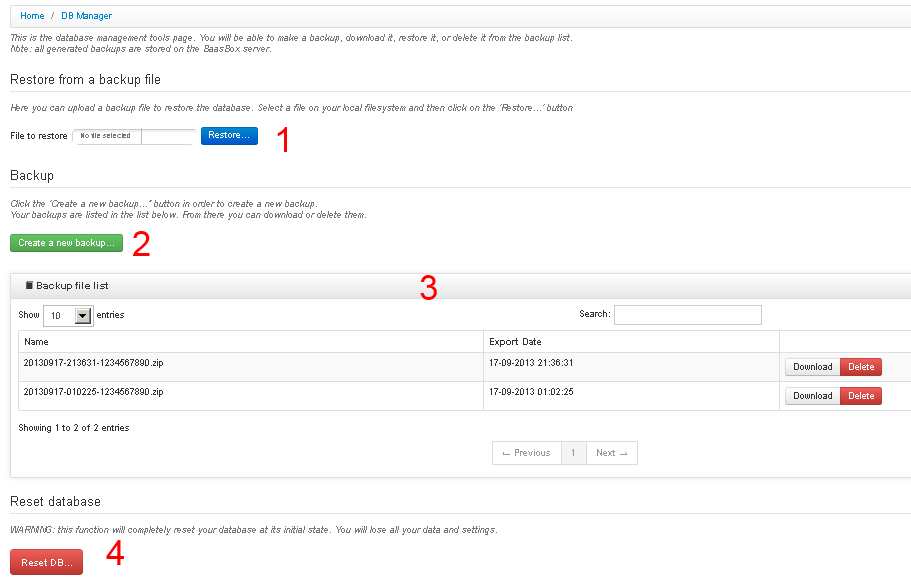
- Restore a previously created backup file
- Create a new backup
- View the list of generated backups
- Reinitialize the database at its initial state. It deletes all the database content.
To create a new backup, you have to click on the “Create a new backup...” button. This operation is asynchronous. BaasBox will freeze the database and it will stop responding to the clients. When the backup is ready you will find it in the list. From that list you can download it or delete it.
To restore a database you have to download a backup file locally, and then use the restore feature.
Users
By selecting the Users option on the menu you can access the users
section. 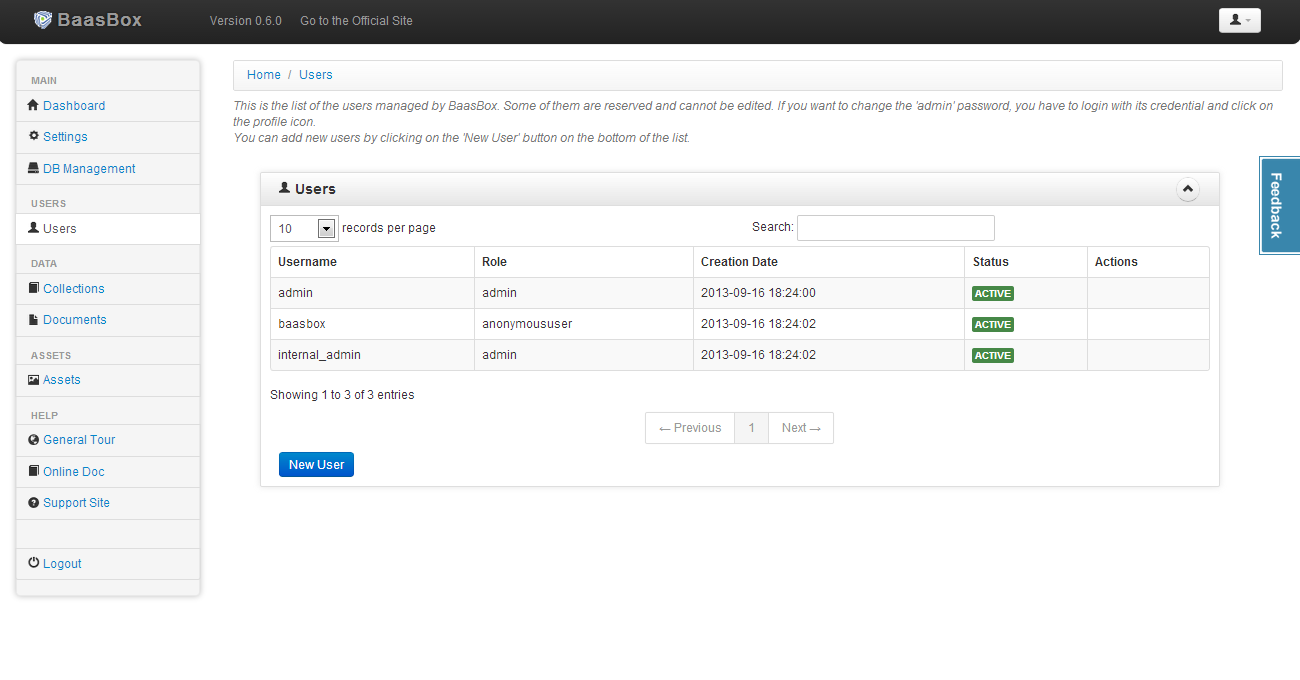 In this section you have the list of all users. A
single user has a name, a role (admin, anonymoususer, backofficeuser,
registereduser), a creation date, a status and actions. You also have a
search tool. If you want to create a new user, click on the New User
button and you will see this window:
In this section you have the list of all users. A
single user has a name, a role (admin, anonymoususer, backofficeuser,
registereduser), a creation date, a status and actions. You also have a
search tool. If you want to create a new user, click on the New User
button and you will see this window:
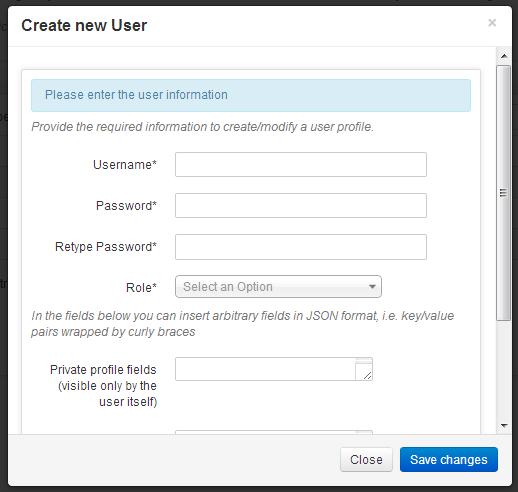
NOTE
- The starred fields are mandatory
- After you filled at least the mandatory fields, you have to save the changes
Collections
By selecting the Collections option on the menu you can access the
collection administration page. Collections are a sort of buckets where
you can store objects, also known as “documents”. 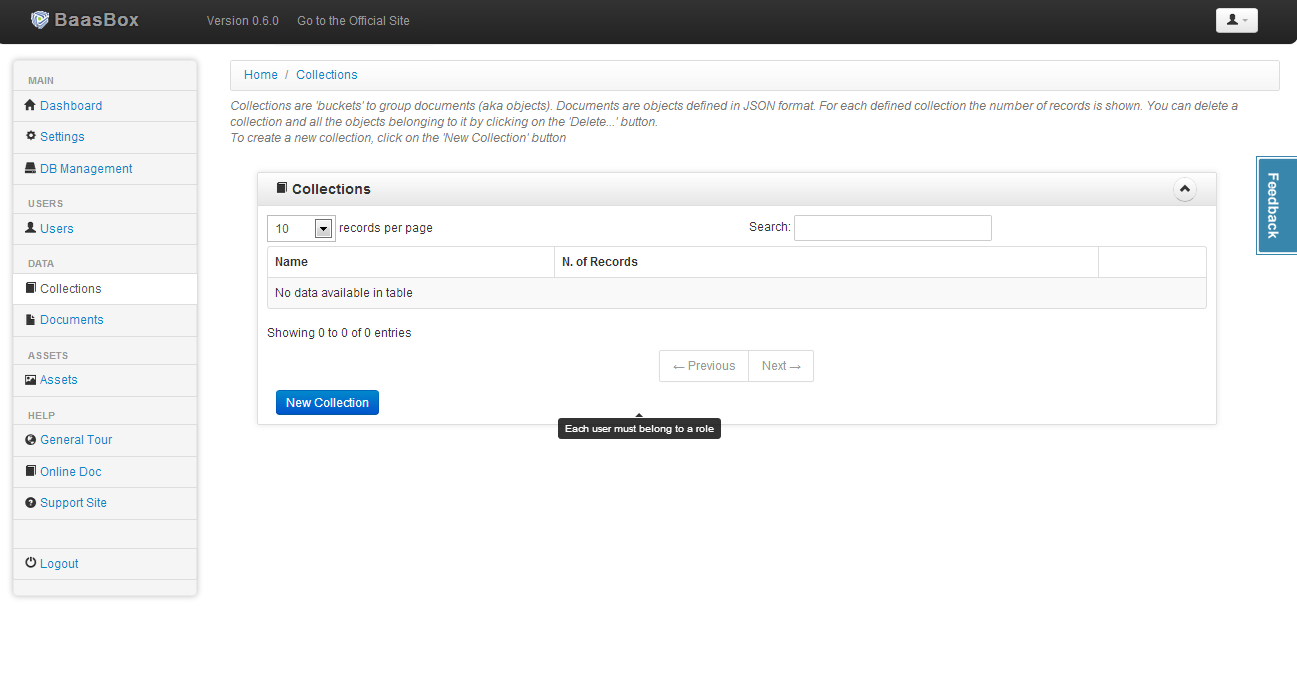 In
this section you have a list of all your collections and you can quickly
find them with the search tool. To create a new collection, click on the
New Collection button and insert its name, then save the changes.
In
this section you have a list of all your collections and you can quickly
find them with the search tool. To create a new collection, click on the
New Collection button and insert its name, then save the changes.
Documents
Documents are objects stored in the embedded NoSQL database ad grouped
in “Collections” 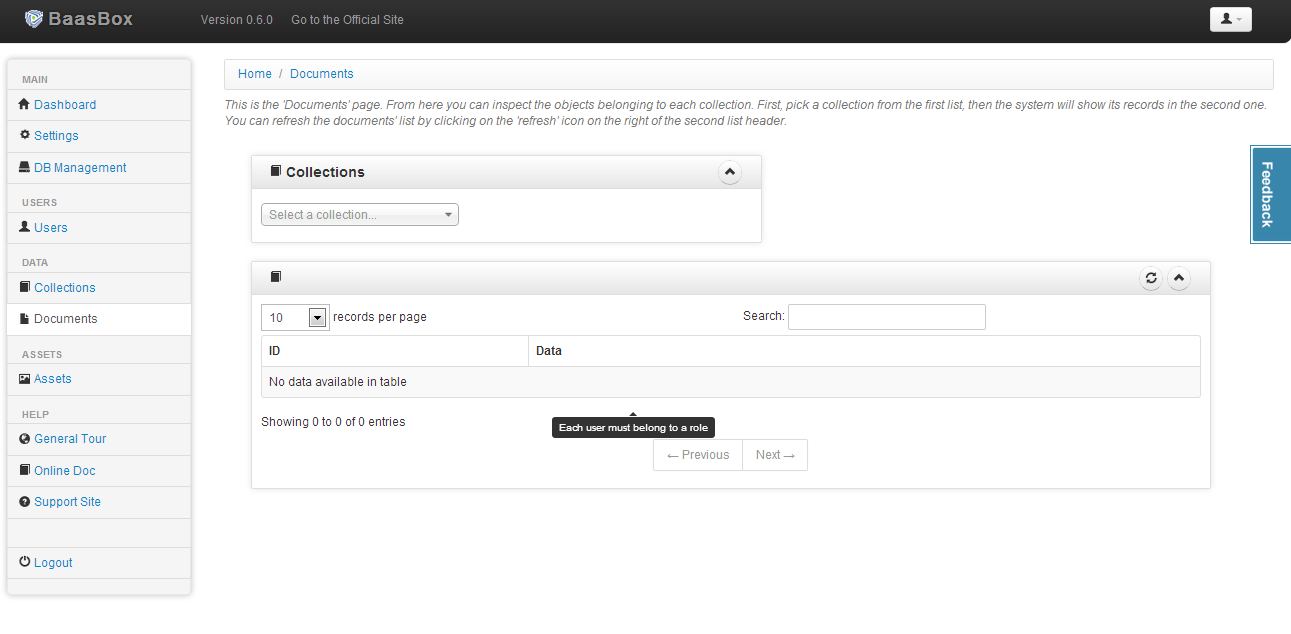 In this section you have the list of all
your documents, but you have to select an existing collection at first.
In fact you can see all the documents relative to a specific collection.
Of course you also have the search tool.
In this section you have the list of all
your documents, but you have to select an existing collection at first.
In fact you can see all the documents relative to a specific collection.
Of course you also have the search tool. 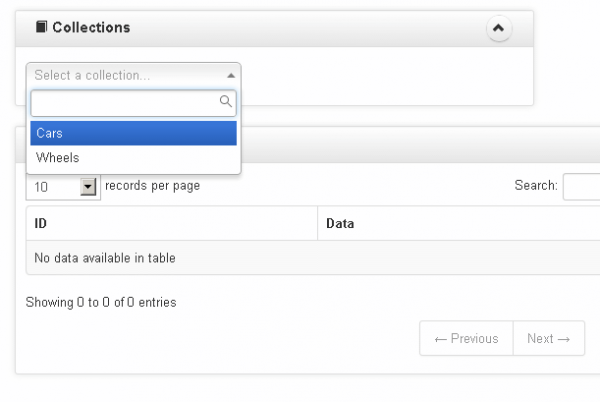 Each
document has a unique id, generated by the server once it is stored.
Data documents are stored and retrieved JSON format.
Each
document has a unique id, generated by the server once it is stored.
Data documents are stored and retrieved JSON format.
Documents are accessible only by the user that created them. APIs exist to grant and revoke permissions to the single users or roles.
Assets
Assets are special objects. They are public by default, but only administrators can create or delete them. They can store arbitrary data (in JSON format), or entire files. Each Asset can store a file and its associated data. Assets do not have IDs generated by the server, but you can, indeed you MUST, assign a unique name to them. You can subsequently use these names to reference the assets.
 In this section you have the detailed list of all your assets
with information fields like Icon, Name, Meta, Size, Type, Download and
Actions. Of course you also have the search tool. If you want to create
a new asset, click on the New Asset button and you will see the
following window:
In this section you have the detailed list of all your assets
with information fields like Icon, Name, Meta, Size, Type, Download and
Actions. Of course you also have the search tool. If you want to create
a new asset, click on the New Asset button and you will see the
following window: 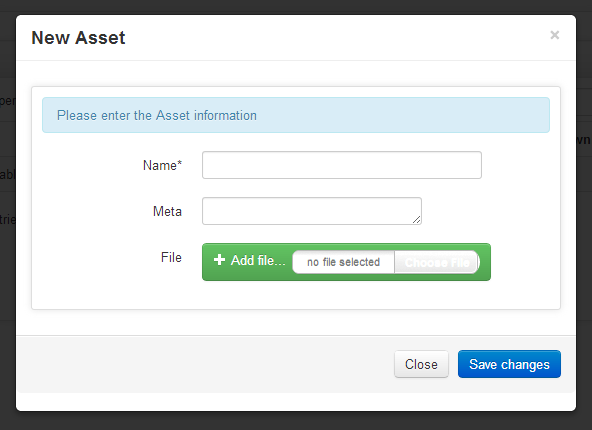 NOTE: you have to fill at least the Name
field and save the changes to create a new asset.
NOTE: you have to fill at least the Name
field and save the changes to create a new asset.